
How to Easily Create a Product via GraphQL


Our objective in this exercise is to be able to create a product in Shopify using GraphQL.
In my previous post, I showed you how to retrieve Shopify data via GraphQL. This time, I’ll show you how to add data (more specifically, a product) via GraphQL.
You can click here to view reference code used for this exercise.
To get the most out of this, I suggest you quickly setup your own Shopify app on your development environment. Run, test, play around, and even destroy the code. You will appreciate this guide more, and you will learn faster.
As that good old Chinese proverb says (now a cornerstone of my life), “I hear, I forget. I see, I remember, I do, I understand.”
I hear, I forget.
I see, I remember.
I do, I understand.
- Chinese Proverb.
Let’s get started, shall we?
Creating a new product
1.) Build your GraphQL mutation query
All of our GraphQL statements, whether query or mutation, will be plain old strings, which then be placed inside a gql tagged template function (Line 3). The gql function converts our string query into a syntax tree object that the Apollo GraphQL client readily understands.
line 4:The operation typemutationdeclares that we intend to change Shopify’s data.line 4:productCreateis our operation name, and can be anything, in fact. We just choseproductCreatefor consistency as it will be solely using the ShopifyproductCreatemutation in line5.line 4:($input: ProductInput!)tells us that the query is expecting a GraphQL variable as input. This variable will be provided later when we invoke the function that will execute this mutation.line 4:$inputis any variable name (as long as it has a$prefix, makes sense and used consistently).ProductInputis the expected type of the variable$input.line 4:The!afterProductInputmeans that the$inputvariable is required.line 5:As mentioned, we now use the ShopifyproductCreatemutation.line 5:Documentation reveals thatproductCreatehasinputas one of its arguments, and the only one to be required. We just straight-up pass$inputfromline 4toinput.lines 6-9:These lines describe a subset of the return fields that we are expecting to get and use. We just needproduct.titleandproduct.onlineStorePreviewUrlin this example.
2.) Create a function that will execute your mutation
Once our mutation query is all set and ready, we use the useMutation hook to create a function that will be executed at will, and several variables that act as references to return data and metadata.
line 4:createProductis the function to invoke to execute our mutation. This function needs to have the proper parameters to be invoked properly, and we shall see that later.line 8:createProductDataholds the return value of the mutation query, and will be populated once the query is done. This isnilinitially, so ensure that there arenilchecks in your code when referring tocreateProductData.lines 6:createProductLoadingholds the state whether the mutation query is still executing, or whether the query is done. Very useful to partner with spinners.
3.) Invoke your function and capture results
After all that preparation, this is where the magic actually happens. We chose an event when we want the query to be executed, then we pull the trigger. In this example, we choose a button click (i.e, form submission) as our event trigger.
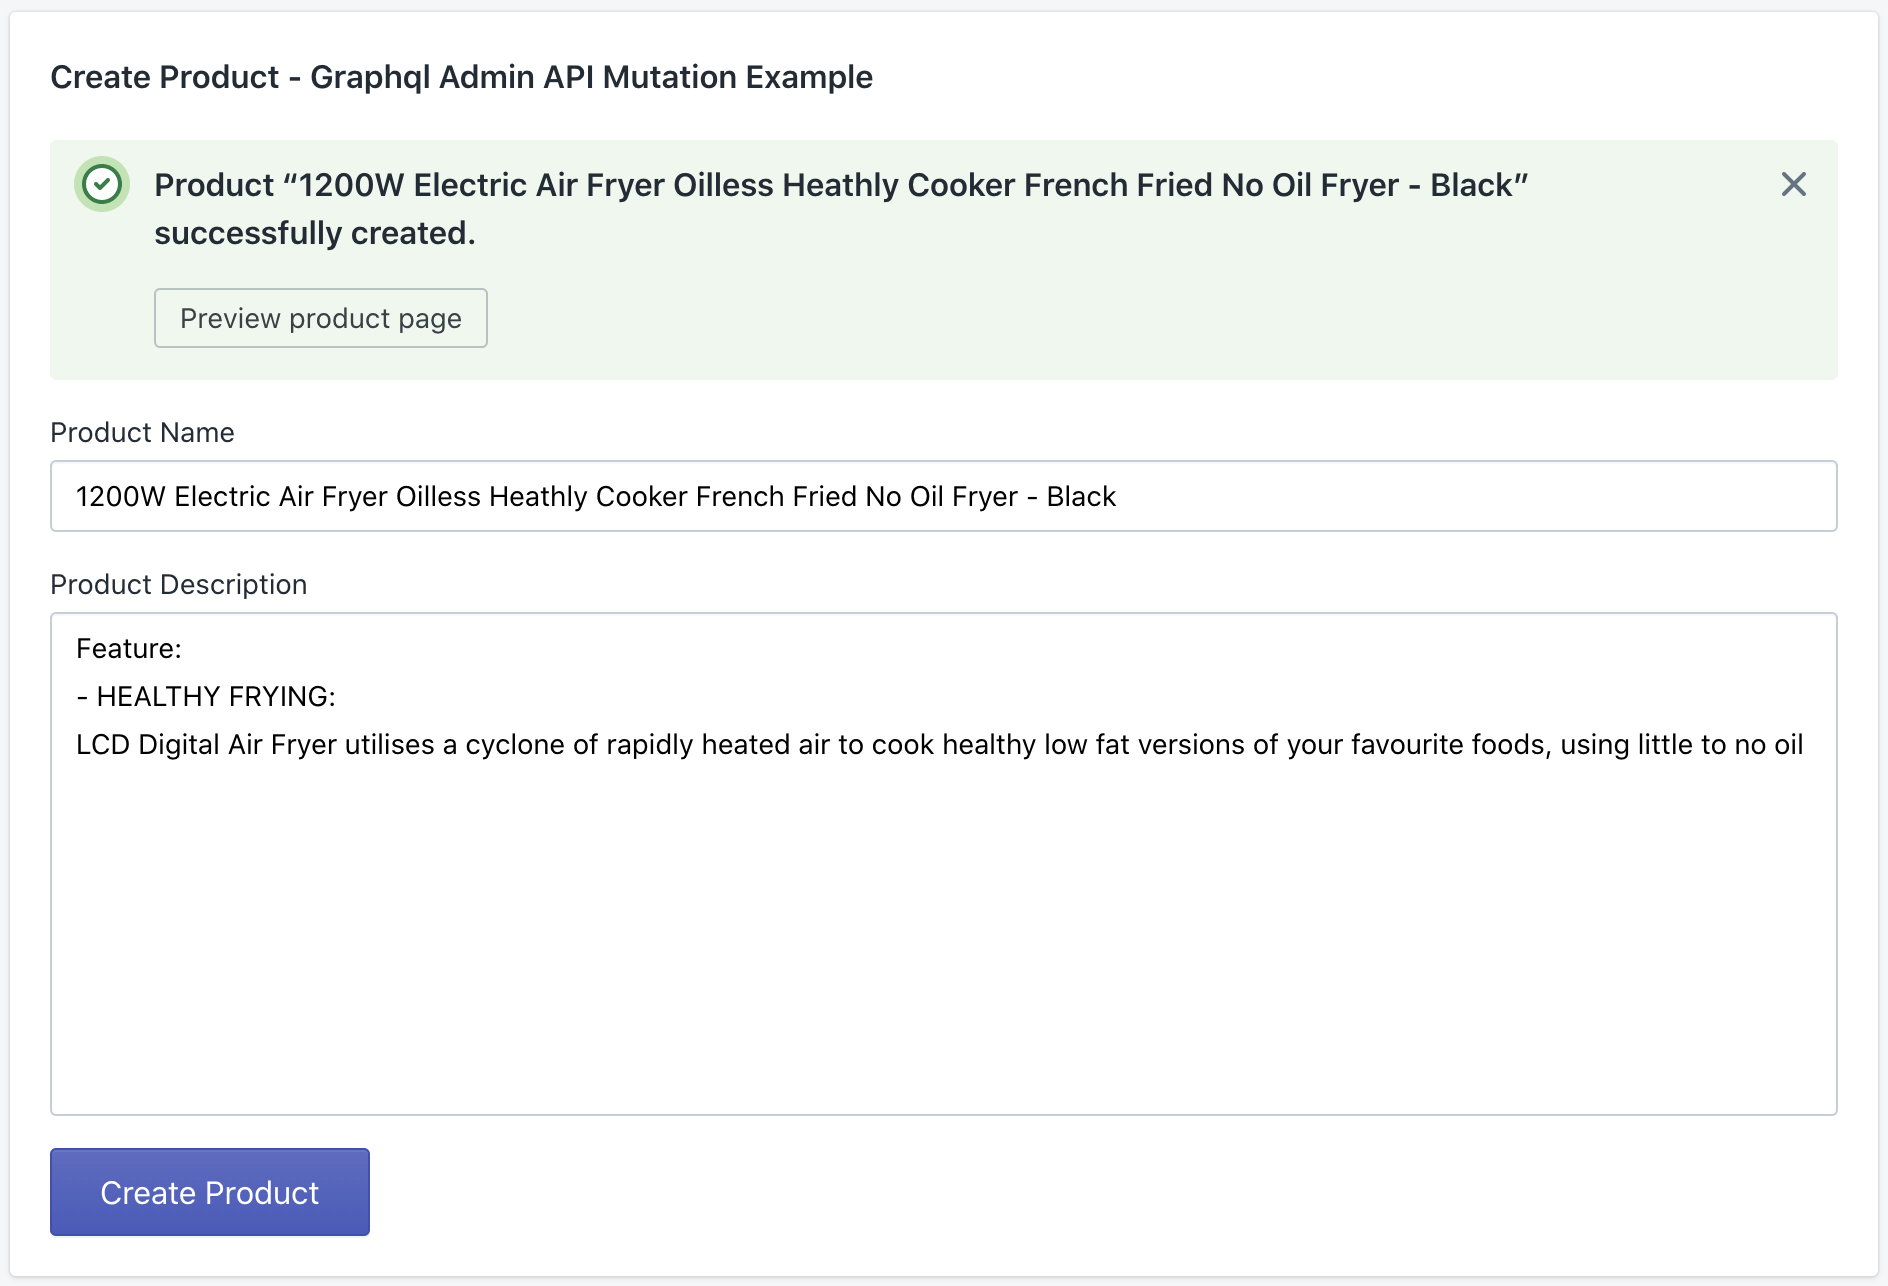
What we are looking at is a form with the following Polaris components:
TextFieldfor product name (line 49)TextFieldfor product description (line 51)- A
Bannerthat will only be visible when our product is successfuly created (lines 36-47), and - A submission
Buttonthat submits the form (lines 54 - 59) - As cherry on top, a
Spinnerto indicate whether our query is still ongoing, or already done (line 57).
We also observe the following:
- Upon submission of the form, the
createProductmutation function is invoked viaonSubmitMutation(line 33, 15 - 28). - Notice that
createProductwas invoked online 17-24with an object parameter withvariableskey. This object will be used in lieu of the mentioned$inputvariable in our mutation query. - The values of the
TextFieldforms inline 49 & 51is passed without modification to our mutation query atlines 20 - 21. - On success, the
Bannerwill display the product title return value via the variablecreateProductData.productCreate.product.titleatline 38. - Similarly, we can preview the new product page by redirecting to the url in the variable
createProductData.productCreate.product.onlineStorePreviewUrlatline 43.
If the reference application is run correctly, you should see something like this:
And we’re done! :)
Next up, let’s see how we can sell our Shopify app masterpiece at the Shopify app store.